How to Talk to Your Supplier About Branding – 5 Key Things to Align On
Quick Answer (for busy buyers)
To avoid branding mistakes in custom umbrella production, align with your supplier on five things:
vector logo files, exact print position, Pantone colour matching,
logo size/coverage limits, and printing method compatibility.
Always approve a scaled mockup and get written sign-off before bulk production.
Contents
- Logo File Format — “Can you send a vector?”
- Printing Position — “Where exactly will the logo go?”
- Colour Matching — “Let’s get the shade right.”
- Logo Size and Coverage — “Big enough to notice — but not distorted.”
- Print Method and Surface Compatibility — “What kind of print are we talking about?”
- HFBROLLY’s Branding Confirmation Process
- Common Branding Mistakes — And How to Avoid Them
- Supplier-Ready Branding Checklist
- Final Thoughts
- FAQ
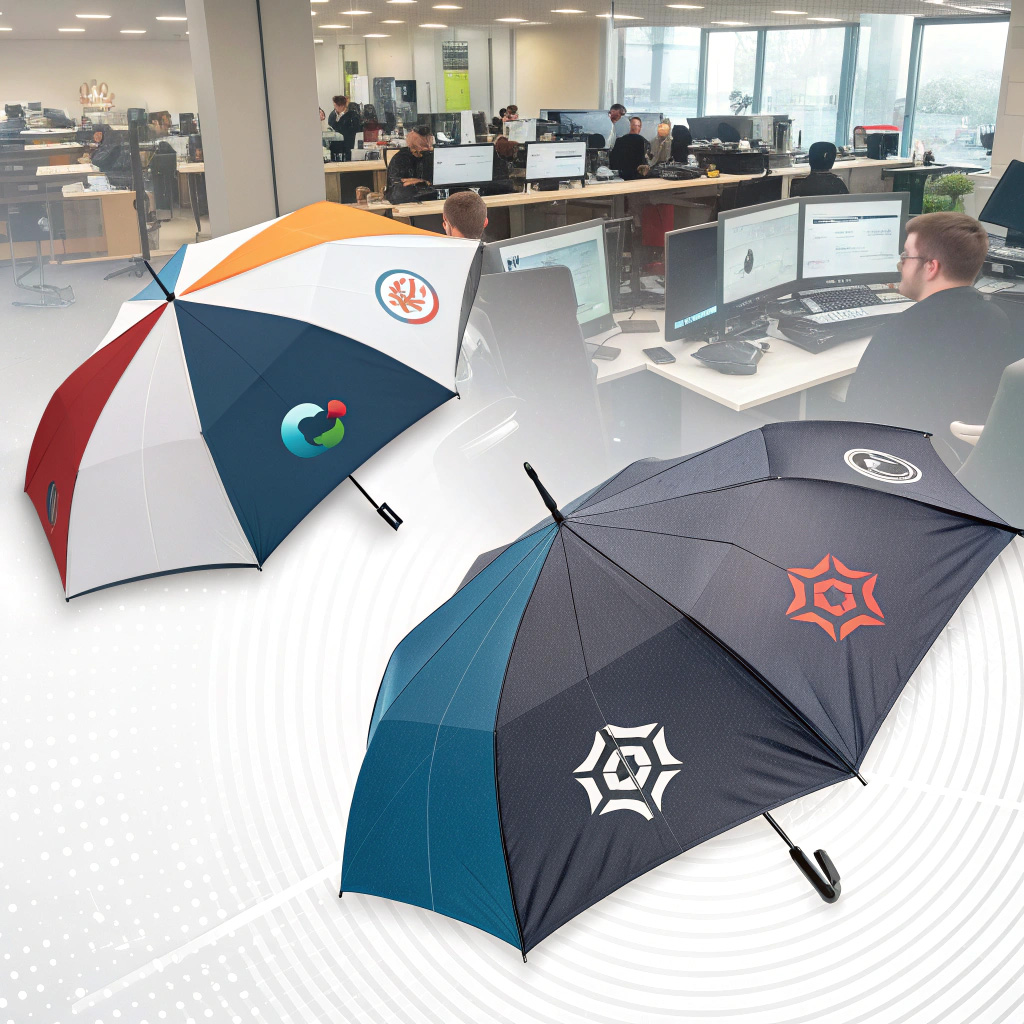
In reality, umbrella branding happens on a stitched, curved, segmented canopy — and that’s where expectations often drift.
In custom umbrella manufacturing, even small misunderstandings can create frustrating outcomes:
logos printed off-centre, colours slightly off, or placement not matching what you pictured.
It’s rarely intentional — most issues come from unclear alignment before production starts.
Below are five things to align on before your umbrellas go into production, plus the confirmation process we use at
HFBROLLY to help buyers avoid surprises.
1. Logo File Format — “Can you send a vector?”
Most branding problems start with the wrong artwork file. If your supplier begins with a low-quality file,
even perfect printing can still look “cheap” on fabric.
What your supplier needs
- Vector artwork: AI, EPS, or a print-ready PDF
- Fonts converted to outlines/shapes (prevents missing-font issues)
- Separate colour layers if you have strict brand rules
Why PNG/JPG often fails
PNGs/JPGs can look fine on screen, but they are raster files — when enlarged for printing,
edges can become jagged or blurry, especially on woven umbrella fabrics.
Practical tip: If you only have PNG, ask your designer for the original vector file, or ask your supplier to redraw it —
then approve a proof before production.
At HFBROLLY, we review artwork immediately. If the file isn’t print-ready, we request a better version (or help convert it)
before moving forward.
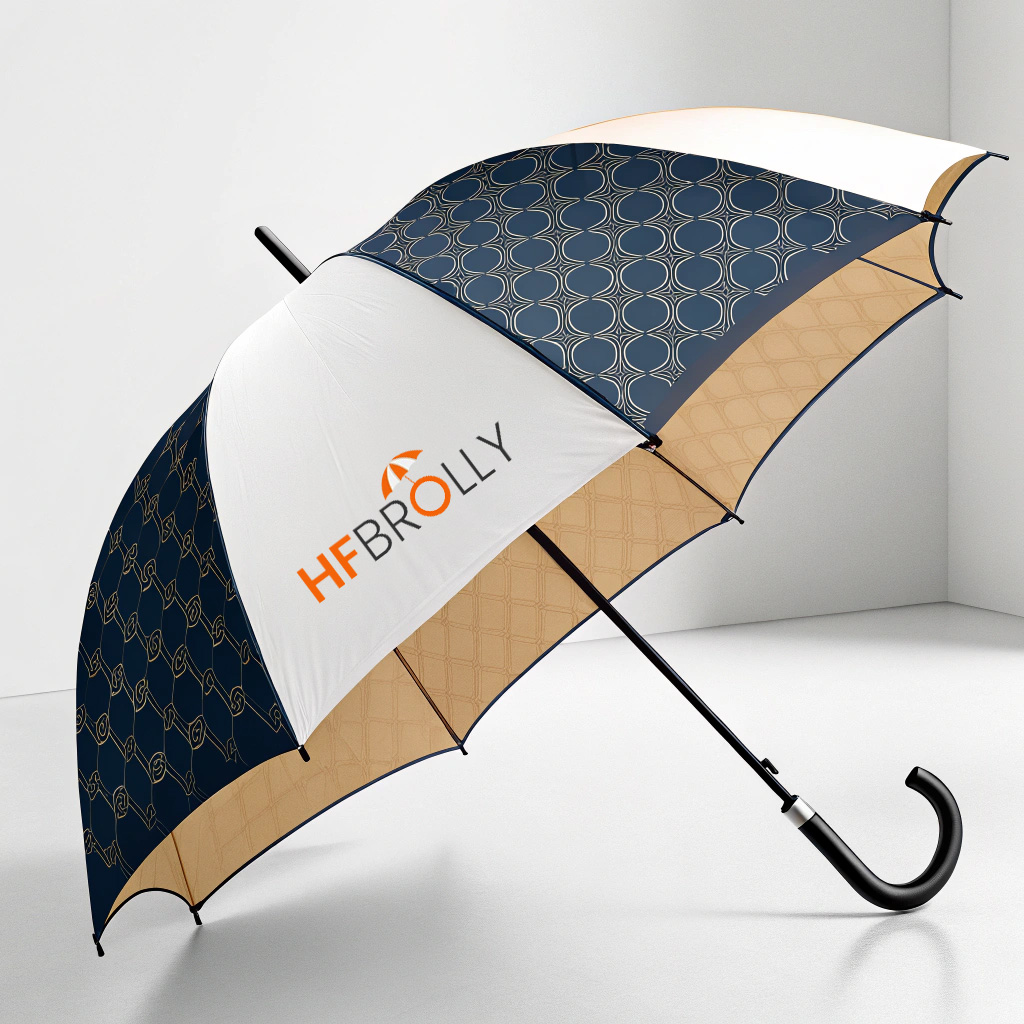
2. Printing Position — “Where exactly will the logo go?”
Umbrellas have panels, seams, tips, and curved surfaces. So “put it on the canopy” isn’t enough.
You need to define placement like a manufacturer would.
Align on these details
- Which panel(s) the logo appears on (e.g., 1 panel, 2 panels, 4 panels)
- Orientation: readable when open, or when held closed?
- Alignment: centre/left/right/edge-aligned — and what “centre” means
- Distance from seams/edges: many methods require a safe margin
A classic issue: buyers assume “centre” means the geometric centre of the panel, but the factory avoids certain areas due to seam interference.
Without a mockup, both sides think they’re correct — until the sample arrives.
The fix is simple: approve a scaled mockup that shows exact placement, seam clearance, and orientation.
At HFBROLLY, we provide a visual layout for every custom print so you can adjust before production.
3. Colour Matching — “Let’s get the shade right.”
Colour matching isn’t “send an image and hope.” Umbrella fabrics vary in gloss, coating, and absorbency —
and that changes how ink appears once printed.
What to confirm
- Pantone (PMS) codes — not “navy” or “red”
- Substrate: canopy fabric vs labels vs straps (each prints differently)
- Print method: screen, transfer, digital, sublimation
- Background: printing on white vs coloured fabric changes perceived colour
Reality check (this prevents arguments later)
The same Pantone can look slightly different depending on material and method. That’s normal.
If colour is brand-critical, confirm it on the actual canopy fabric with a test print or swatch.
At HFBROLLY, we flag potential colour deviation early and recommend test prints for brand-sensitive projects
when timelines allow.
4. Logo Size and Coverage — “Big enough to notice — but not distorted.”
Whether you want a bold logo or a minimal mark, umbrella panels have natural constraints due to shape and seams.
If size is not confirmed, “small misunderstandings” become expensive misunderstandings.
Discuss these scenarios
- Wraparound designs: how artwork behaves across panels
- Full-panel coverage: safe zones vs seam/tip interference
- Multiple locations: outside + inside prints, straps, sleeves (cost + alignment)
- Aspect ratio control: avoid stretching tall/narrow logos to “fill space”
At HFBROLLY, we create layouts based on panel geometry and brand guidelines.
You receive a mockup with exact dimensions before anything is printed.
5. Print Method and Surface Compatibility — “What kind of print are we talking about?”
Printing method should match your artwork, fabric, durability requirements, and budget.
Choosing the cheapest method often creates the most expensive rework.
Common methods
- Screen printing – best for solid colours and simple designs
- Digital / transfer – ideal for detailed multi-colour artwork
- Sublimation – great for all-over prints on compatible materials
- Heat transfer – used for small logos, labels, and special placements
Common limitations
- Metallic inks may not cure well on some fabrics
- Fine lines/gradients can blur in screen printing
- Sublimation requires compatible materials
- Some methods look great but may not last in harsh weather
A reliable supplier should warn you early if your chosen method risks poor visuals or durability.
HFBROLLY’s Branding Confirmation Process
HFBROLLY is a professional custom umbrella manufacturer. Our job isn’t only to produce umbrellas —
it’s to help buyers translate brand requirements into clear, manufacturable specs before production begins.
- Artwork check-up
We review format, clarity, scalability, and Pantone references. If something is off, we request a better version or help adjust it. - Mockups and positioning review
We send a scaled layout showing logo placement, size, panel orientation, and seam clearance. - Print testing and colour confirmation
For brand-sensitive projects, we can test on the actual canopy material to check ink behaviour and colour appearance. - Sign-off before production
Nothing moves to bulk without your written approval. If we spot risks, we fix them first. - QC during and after printing
We check alignment, clarity, and colour consistency throughout production — not only at the end.
This process exists to prevent the classic “It’s not what I expected” moment when the sample arrives.
Common Branding Mistakes — And How to Avoid Them
- Logo printed too close to the edge and cut by seams → approve a seam-safe mockup
- Wrong corporate colour due to no Pantone code → provide PMS + confirm on real fabric
- Pixelated logo from low-res files → use vector artwork
- Logo too small/too large due to vague direction → lock dimensions in the mockup
- Print method chosen by price, not durability → match method to weather + usage
- Wrong panel printed due to unclear orientation → confirm the “visible panel” logic
Supplier-Ready Branding Checklist
Copy/paste this checklist into your email to any umbrella supplier:
- ✅ I will provide vector artwork (AI/EPS/PDF). All fonts are outlined.
- ✅ Confirm the umbrella model and canopy panel layout (panel count + seam positions).
- ✅ Confirm logo panel(s), orientation (open vs closed), and distance from seams/edges.
- ✅ Confirm Pantone (PMS) codes for canopy and logo. Advise if fabric/method may shift appearance.
- ✅ Confirm final logo size (W × H in cm) and safe zones.
- ✅ Confirm printing method and expected durability for intended usage (rain / wind / UV).
- ✅ Send scaled mockups for approval before sampling/bulk.
- ✅ No bulk production starts until written sign-off is received.
Final Thoughts
Branding mistakes are rarely caused by bad intentions — they usually come from unclear alignment.
Umbrellas aren’t flat paper: seams, panel geometry, fabric coatings, and print methods all affect the final outcome.
If your project is brand-sensitive, treat branding as a confirmation process — not a single email.
Align early, approve mockups, and confirm colour on the real material.
FAQ
What logo file format should I send my umbrella supplier?
Send vector files (AI/EPS/print-ready PDF). Convert fonts to outlines to avoid missing-font or substitution issues.
Why can the same Pantone colour look different on an umbrella?
Fabric texture/coating/absorbency and print method change how ink appears. Confirm Pantone on the actual canopy fabric when possible.
How do I avoid wrong logo placement on an umbrella canopy?
Approve a scaled mockup specifying panel(s), orientation, seam clearance, and exact distance from edges/tip. Define what “centre” means.
Which printing method is best for umbrellas?
It depends on artwork, fabric and durability needs. Screen suits simple logos, digital/transfer suits detailed designs, sublimation suits all-over prints on compatible materials.